Showing posts with label tutorial. Show all posts

Sunday, April 29, 2012

Everyone Deserves Fresh Flowers

What to do with this lovely explosion of flowers?


Why, cut a little bouquet, stick them in a baby food jar, and give them to your sister.


Here they are on her end table with my mommy in the background.


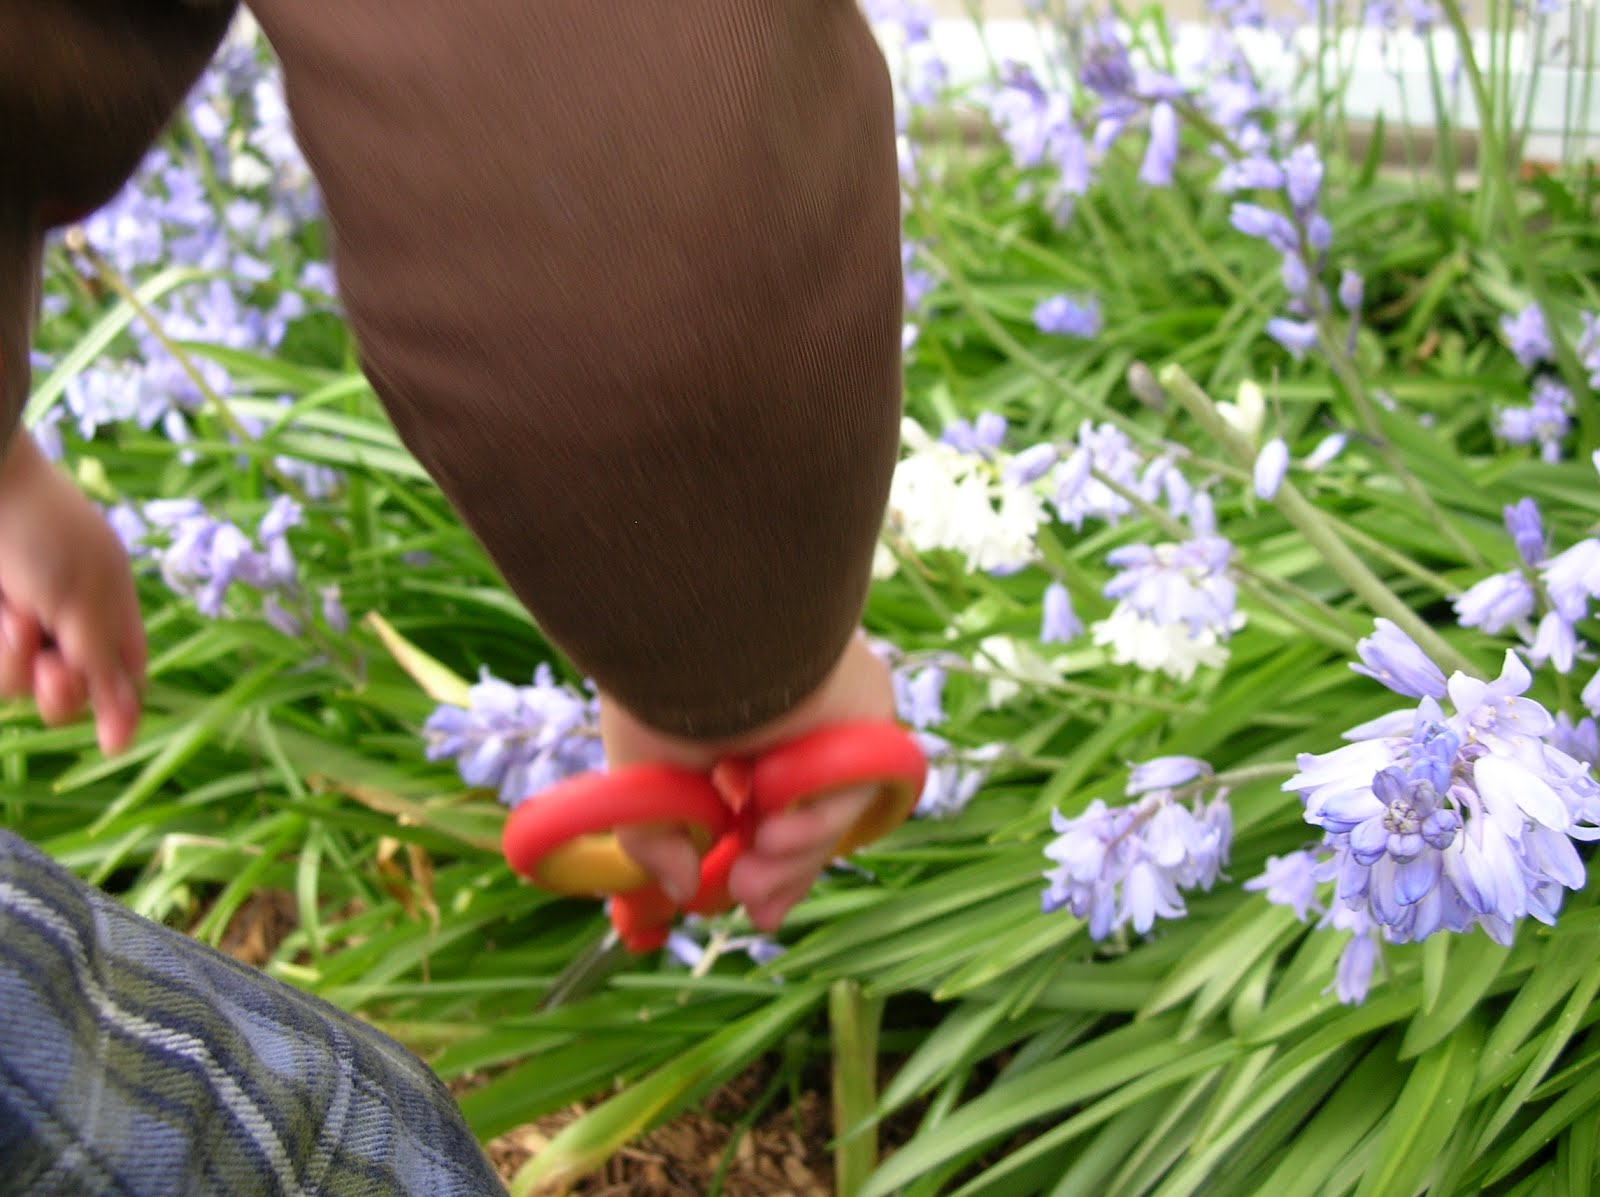
How do you accomplish such an amazing feat? Doozer has put together a simple tutorial. First select the perfect flower.


Find an appropriate place on the stem to cut.


Snip!


Plunk!  You're done!


Of course, filling jars for flowers creates spunky puddles to slash in. 


Aren't those the cutest little footprints ever? 


I hope you are all having a fabulous spring day.

Tuesday, November 2, 2010

Fabric Pumpkins for Autumn!

!!!!!

Yes, this post needs exclamation points. Why, I'm not sure, maybe I need more excitement in my life.

A few days ago I mentioned I had made some crafty pumpkins. Over at Small Fry & Co. there is this super adorable and easy tutorial for making pumpkins out of sweaters. My sister Jillyn sent it to me and I immediately fell in love with the simple shabby chicness of it. Which is funny, because my decor style is more Asian zen than country cottage. (Tangent, do you think I could ever get the two styles to live harmoniously? Because I really love them both...)

Once I decided to make them I took inventory of my sweater stash to see if I could recreate this. And I hated the combination of sweaters I was willing to cut. Then I remembered I have tons of knit scraps from my friend who makes some amazing nursing covers. So that's what I used.

I sewed tubes of fabric in varying sizes, then ran gathering stitches around the tops and bottoms. After that I cinched the bottoms closed and sewed them shut on my machine. In my opinion, the less hand sewing the better!

After the bottoms were secure I poured in some gravel for weight and then stuffed with Polyfil. I found to get a good rounded pumpkin you stuff it, then stick your hand in the middle of the stuffing and make a hole. Then wad some more Polyfil to medium density and put it into the hole you made.

Gather the tops of the pumpkins and knot the tails. Hand sew the tops shut, I used a ladder stitch. Then grab some yarn and stitch the top and bottom together as described in the Small Fry tutorial. This is how they looked after all of that:


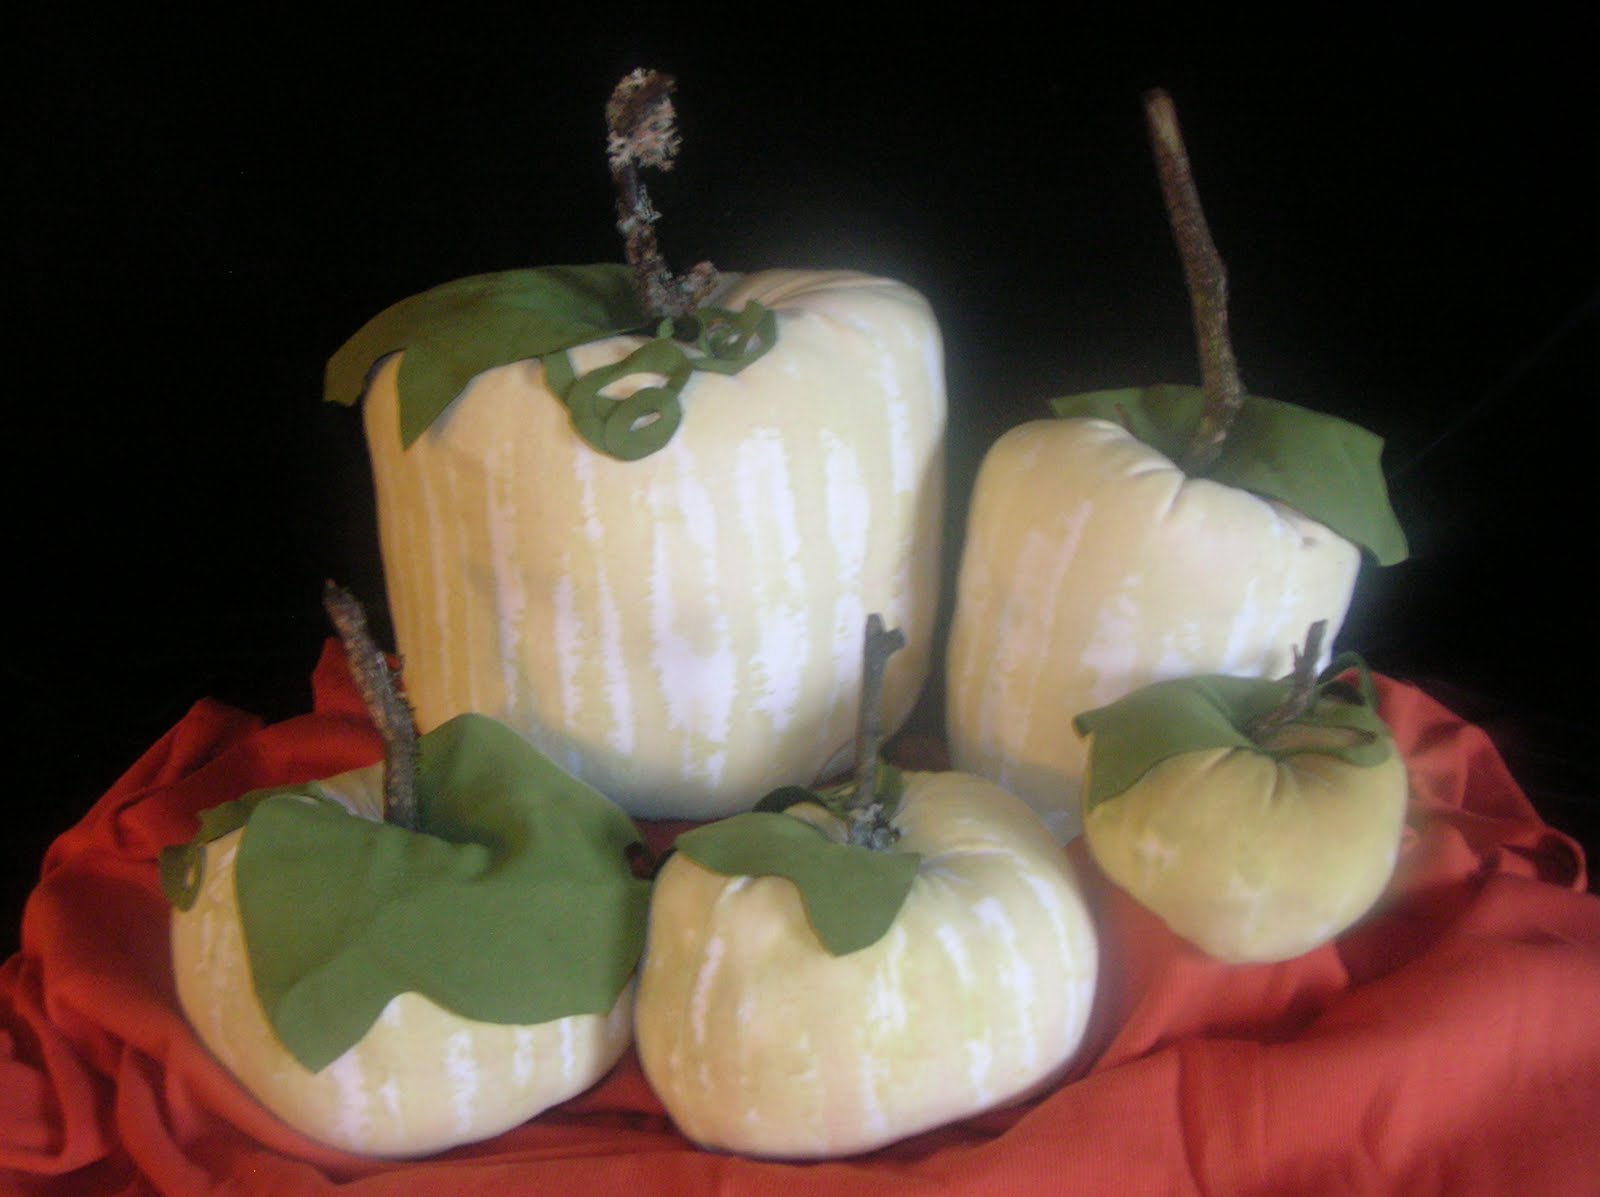
Oooo, dreamy lighting. Because I wasn't working with sweaters I was missing the prominent ribbing that make the pumpkin stripes. Since BuggaBoo has been on a paint-everything kick I decided to paint these babies with watered down gold acrylic paint. I was a selfish mommy and let him help paint only one because he wasn't painting how I wanted him to. Because the paint was so watery the pumpkins were still moist even after drying all night. So they took a quick trip in the dryer with some towels. I'm surprised they survived the journey.

Then we added the stems and leaves and got this:


Can you tell which one BuggaBoo painted? And can I say that I love living in an area where finding lichen- and moss-covered sticks is as easy as walking into your front yard? Here are some detail shots:


So, I plan on leaving these up until it's time to break out the Christmas decorations. Especially after all that work.

Thursday, August 26, 2010

Lady in Red Shoes

So a while ago I felt I needed a pick-me-up for my feet. But, who wants to spend money? Not me! So this is what I found in my closet:


I bought these wedges a while back from Target for five bucks and I love them. Obviously, though, they've seen better days, probably because I love them too much. The first thing I did was take some E6000 glue and secure the peeling edges. Then I sanded the wedge part to get ready for painting. After sanding I wiped the wedges down with nail polish remover to get all the grit off. It made the surface sticky, which made it better for the paint to stick. I love it when things work out like that.


I picked out the perfect candy-apple red acrylic paint from my extensive paint stash and slapped on 4-5 coats of paint. Then I sealed it with 3 coats of glossy Modge-Podge. Voila! New-lookin' shoes.


Lemmie tell ya, I *strut* when I wear these babies. And what could be better than red?

Thursday, May 20, 2010

Sewing Card Tutorial

I sew. BuggaBoo wants to help me sew. This is a happy alternative to finding straight pins all over my floor. I have fond memories of using these in kindergarten.

I bought flexible plastic cutting boards at my local dollar store for the sewing cards.


Trace the shapes you want the cards to be. I used a heart, a crescent, a square, a circle, and a rectangle.


Cut out the cards and then take a hole punch and punch your sewing holes. Find some shoelaces for "thread". It's nice to use shoelaces since they have the plastic tips and are stiff enough to thread through the holes, like a needle. I bought this 8-pack at the dollar store.


Admire your work.


Not bad for two bucks and a few minutes of work!

Wednesday, May 19, 2010

I Love Me Some Omega-3's!

The Hubby (finally!) transferred pictures from the camera to the computer, so now I can put up all the tutorials I've been wanting to do. Today I was waffling between putting up a crafty tutorial or a foody tutorial, but food won out since I'm hungry. So I'm treating you to my recipe for Flaxy French Toast.

Well, I'm using the term "recipe" loosely here. I didn't measure anything, flax is something that you have to do by feel sometimes. But I have pictures and explanations so that will have to do.

First you have to find yourself some flax meal. It's important to know that whole flax seed is impossible for your body to digest, so it needs to be ground before using it. I prefer to buy whole flax seed and grind it in my coffee grinder that has never seen coffee. Ground flax goes rancid quickly so buying it pre-ground can give you a bitter experience, literally. Also, at my local bulk store, ground flax goes for about $1.00/lb and whole seeds are $0.56/lb. After grinding your flax store it in the fridge and use it in a week or two for the best results.

Pour your ground flax into a bowl.


The ratio for flax-to-water to make an "egg" is 1:2 or 1:3, depending on how thick you want it. A tablespoon of flax meal plus your wanted water equals the binding power of an egg. I think I use about 1/2 cup of meal for 4-5 slices of bread. But don't add your water yet!

Instead, add your seasonings. I use cinnamon, nutritional yeast, and salt. I think the cinnamon is the key to getting it to taste like eggy french toast, but that's what I grew up with. The nutritional yeast helps the flax taste a bit like eggs, it's also high in B vitamins. And it's yummy in it's own right.


Whisk the flax meal and seasonings together and add your water. Flax meal mixed with water will thicken upon standing for any length of time, so take that into consideration. Experiment, it won't hurt. This is the texture of my flaxy goodness that I like to use. To be clear, this is the texture of it after standing.


If you're using homemade bread for this (and why not!) then slice it while you're waiting for the flax to congeal.


Dip your slices in the flax mixture. You might have to scrape some mixture off it it's too thick. Again, experiment. Then lay it into a heated sprayed pan to cook. I use a medium-high heat.


Then enjoy!


The flax gives it a delightful nuttiness that I just love. It's also great for slicing into sticks and giving it to your toddler to dunk. And you can pat yourself on the back for not buying frozen french toast sticks.

Doesn't breakfast sound good right about now?

Friday, January 8, 2010

Sandpaper Letter Tutorial

If you've read about alternative schooling you've probably ran across the Montessori method. I'm too hurried to talk about it right now hence the link. I like a lot of the techniques used but not all, so I'm going to be adapting the Montessori method to fit our lifestyle. For example, Montessori does not place a lot of emphasis on fantasy play, I feel imagination is very important. Montessori pushes independence in a big way; one book I read recommended weaning your child at nine months. We believe in the child venturing into independence as they are ready.

However, I really do like a lot of the practices used by the Montessori method. I like how learning is acquired through structured play instead of by drilling. A lot of the "jobs" are self-correcting, meaning the child can tell for themselves if they've done it right. There's more, but my brain isn't working in that direction right now. So on with the tutorial!

Sandpaper letters are a bit like flashcards. They are letters of the alphabet cut out of sandpaper or another tactile medium and adhered to a strong surface. The child traces the correct way of writing the letter while saying the name or sound. The tactile experience along with the visual and verbal experience helps to cement the information in the child's mind. Also, it's really fun to trace a bumpy letter.

The supplies you'll need are:

Sandpaper (I bought mine at the dollar store. It's not good for sanding, but it's great for this.)
Paper for making letter templates
Craft knife with a lot of blades (the sandpaper dulls them very quickly. Don't use scissors unless you don't care that they become blunt.)
Tape
Glue
Small sponge brush
Card stock in two distinct colors
Cutting mat
See-through quilting ruler (optional)

First step is to find a font you like. I chose the actual font used for Montessori letters, I found it here. I traced the letters directly off the screen, but you can print it if you like.

The reason that I used this font is because it's supposed to help the child learn cursive writing more easily. Block letters can be hard for a kid to transfer to cursive. One thing I'm sad about nowadays is the decline in penmanship, so this is an important emphasis for me.

Next, cut out the letters. Then tape them to the back of your sandpaper face down. It's important to be sure that the stencil is face down so when the sandpaper is right side up the letter is facing the right direction. I really crammed the letters on here to save on sandpaper.


Cut out out sandpaper letters with your craft knife. I went through three blades just on this part, the sandpaper really makes them dull.

Get out your card stock and get ready to glue on the letters. The colors are *supposed* to be blue for vowels and pink for consonants. I didn't have any pink card stock so I'm using yellow. On the back of the sandpaper letter spread your chosen glue out with the sponge brush. I'm using Mod Podge because I like it's durability.


Place the gluey letter on the correct color card stock. In this case "y" is not a vowel. Space out the letters to make a decent sized flash card for each letter. Larger letters will need more space than smaller ones. You can make the flash cards all the same size. I went with economy and sized the cards to the letters.


After the letters are dry cut out the flash cards. I used a craft knife again with a quilting ruler to make straight lines. If you want to use scissors that's fine with me.


Now step back and admire your letters. Don't they look great? Try not to look at the carpet, I think BuggaBoo happened to it...


If you choose to make any I hope you show me what you did. Thanks for reading.

Friday, January 1, 2010

Introduction and How-To

Hello! Welcome to my New Year's resolution. Just a little introduction and we'll get down to the fun stuff. I'm 25 years old and have been married to The Hubby for almost five years. We have a son, BuggaBoo, who just turned two, and Baby due mid-February sometime. BuggaBoo and I are vegan, The Hubby is 98% vegan. Our family belongs to the LDS faith. We love being thrifty and creative in finding solutions to our everyday dilemmas. The Hubby has been bugging me for a while to start a blog and keep track of what I do in hopes that it could help/inspire others, so here we go!

This morning BuggaBoo and I rolled out of bed late due to the fact that it's New Year's Day and we stayed up until 1:00am. I woke up before him and as I lay there nursing him I made plans to make some new cloth diaper covers. BuggaBoo has almost grown out of his current size and a lot of his vinyl covers have ripped. I was even thinking about how best to set it up into a tutorial to make into a blog post. However, BuggaBoo had different plans…

He decided he needed some milk. He needed milk Right Now. And I was silly and didn't make any last night. So today you're getting a how-to on making nut milk from scratch and you're just going to have to wait for the diaper cover tutorial. Sorry.

Step One: Get your toddler helper.


Step Two: Gather your supplies. What you see here, from left to right, is:

Raw sunflower seeds
Raw cashews
Calcium citrate pills
Oster 18-speed blended (specific brand not needed)
Cheesecloth
Never-been-used canning lid with ring
Coffee grinder
Large bowl
Glass quart jar
Salt
Not pictured: Pan large enough to hold one quart of water and a heat-proof, water-proof glove. I use a canning glove, but a CLEAN dishwashing glove may work.


Step Three: Fill your quart jar with water. Pour the water into a saucepan and heat to a boil. Do the following steps while you're waiting for the water to boil.


Step four: Measure your nuts. This small cup holds a half a cup. It's hard to tell but I'm using a mixture of sunflower seeds and cashews.


Step Five: Put two calcium tablets in the coffee grinder. I like to put them in first so they break up more easily.


Step six: Put the nuts in coffee grinder.


Step seven: Let the toddler helper grind the nuts. He'll find this very exciting. Grind as finely as you can without turning your nuts into nut butter.


Step eight: Put the ground nuts into the blender and add about 1 ½ c of boiling water. Starting slowly mix the ground nuts and water in the blender. Be careful! You're working with very hot water to help the calcium dissolve. If you are skipping the calcium you can use just hot water. After the ground nuts are mixed with the water stop the blender and add the rest of the water. Again, starting slowly, blend the mixture. Get your blender up to the highest speed it has. Blend for two minutes.


Step nine: While the milk is blending get your cheesecloth ready to strain the milk. Also get your glove ready.


Step ten: Pour the milk into the cheesecloth-lined bowl.


Step eleven: Strain the milk. Even with my glove on the milk is very hot. Please do not burn yourself or your toddler helper. If you don't have a heat-proof glove wait for your milk to cool before straining it. I push my milk through the cloth to speed the process but I end up with a slightly gritty product. If you want silky smooth milk let it drip naturally or strain it twice. You can also double up your cheesecloth.


Step twelve: Pour the milk into the quart jar and add a small pinch of salt. Put the lid on tightly and shake it up. Use a lid that has never been used for canning. You can use this lid repeatedly, so don't throw it away. At this point store the milk in your fridge or…


Step thirteen: Console your toddler helper when he discovers you didn't buy bananas this week.


Step fourteen: Let him drink some milk!


I make my nut milk from a mixture of raw cashews and raw sunflower kernels. I'm slowly building up to using 100% sunflower seeds, but the taste is rather strong so we'll see how far I get. Using sunflower seed milk is just fine for cooking, it mellows the strong flavor. So far I use a 50/50 mixture for drinking. You can use any nut or seed to make milk. Lots of people love almond milk but I don't use them because A) They are more expensive than cashews and B) The Hubby's mom has an almond allergy, so we like to be careful.

I also add two calcium citrate tablets to the nuts to fortify the milk. Two tablets have 500 mg of calcium, or half of your daily allowance. That would mean a cup of my milk will have at least 125 mg of calcium, excluding any calcium I get from the nuts. A cup of non-fat cow milk has 300 mg per cup.

I buy raw cashew pieces at Winco (a local bulk grocery store) for about $2.80/lb. Raw sunflower kernels are $1.10/lb. I think the calcium citrate ran me $10.00 for 300 tablets, but I'm not sure on that one yet. I need to find the receipt. I use a half a cup of nuts for a quart of milk. If I used 100% cashews it would cost me $0.43/quart for the nuts and about $0.07 for the calcium, a grand total of $0.50/quart. If I use a 50/50 mix of nuts and seeds the price drops to $0.36/quart, including calcium. If I use 100% sunflower seeds the price is $0.22/quart, once again including calcium.

I add a little bit of salt to my nut milks. Why? Well, cow milk has 127 mg of sodium per cup, and if you don't add salt to your milk it will taste a bit "off". Is this bad? No, you can certainly get used to unsalted milk, which I plan on doing very soon. You may notice that I didn't add flavorings or sweeteners to my milk. Feel free to add any flavoring you want. Surprisingly lemon flavoring goes well with cashews. We just want BuggaBoo to appreciate the taste of natural food, so we don't flavor a lot of things.

Last quick note: This milk will separate in the fridge. Just shake before using. Also, if you use sunflower seeds the milk will take on a curdled appearance in the fridge. Once again, a good shake takes care of that problem.

So, let's see… Introduction? Check. Long rambly post? Check. Lots of pictures? Check. I think this post is done! Thanks for reading and enjoy any milk you make.